Category Archives: Coding

Five social login providers quickly reviewed, and one selected for trial

I need to put together a website quickly and at minimal cost. Join the queue you say. I want to use hosted services as much as possible for functions of my site that are not differentiators. Login and registration is one such area. So I quickly reviewed what Google told me were the main hits for the search term “social login providers”. The first two made me so angry I felt compelled to write about it. Then as I found better offerings, my temper settled, so now this small write up might be useful to people, rather than being a rant against poor selling-to-developers techniques.

Gigya

You need to request a “buyers kit”. Dear god. I’ll judge your solution against this criterion – can I integrate it in a couple of hours. Requesting, obtaining and reading whatever this “buyers kit” is burns your budget of a couple of hours to impress me.

Janrain

After a bit of digging, I get to this. Free for first 2500 users. Great – but no download or sign up link. Just a link to see pricing of greater use. When I click it I have to fill in a multi-field to have to contact me. Do you not see the irony in this? Also, who is this page serving – me or you? Again, I’ll judge your solution against this criterion – can I integrate it in a couple of hours. So again, sorry, you have used your budget of a couple of hours.

Oneall

These guys have pricing on the front page and code samples in the integration guide. After 10 minutes on this site, I figured I’d be able to integrate it into my system in a couple of hours. And the price is reasonable. So possibly on the short list.

LoginRadius

Pricing available to view at a single click, excellent documentation. After 10 minutes on this site, I figured I’d be able to integrate it into my system in a couple of hours. It’s expensive though at min $500 a month. I used this a few years back and it was $8 a month I think. It was good at the time, so don’t forget where you come from loginradius 🙂

Auth0

Pricing available to view at a single click, excellent documentation. After 10 minutes on this site, I figured I’d be able to integrate it into my system in a couple of hours. Its reasonable value too. I think this is the winner for initial trial.

Tech-Ignorant Journalists are misinforming the public

Tech-ignorant journalists are allowed to misinform public opinion about important matters like encryption just because they have a platform.

As a tech-head I feel the need to say current government initiatives to back-door encryption are flawed, due to the simple fact that a end-to-end secure messaging app can be written by a competent programmer in a few hundred lines of code. Maybe all us coders should just make one each and open source it?

What’s more, 100% secure email can be configured by anybody who can follow instructions.

So the encryption cat is out of the bag.

This journalist, and all others similar, and the policy makers are getting this one wrong. They are going to impose unnecessary and pointless expense on companies, weaken security for all of us, and snoop on the regular Joe whilst those who really want to remain private will use other means.

So for some reason, whether it makes a jot of difference or not, suddenly I just feel the need to speak up, having never been even remotely political before.

Runtime configuration for AWS Lambda functions

I have an AWS Lambda function that is scheduled to run once an hour (as described here).

The function FTPs files from a data provider and copies them to S3.

I have a test environment, and a production environment. For each environment, the ftp address and credentials are different.

How can I configure the lambda function so it can be aware of which environment it’s running in, and get the ftp config accordingly?

The best way I can currently find to do that is as follows.

For the test version of the function, I am calling it `TEST-CopyFtpFilesToS3` and for the production version of the function I am naming the function `PRODUCTION-CopyFtpFilesToS3`. This allows me pull out the environment name using a regular expression from the environment variable `AWS_LAMBDA_FUNCTION_NAME`.

Then I am storing `config/test.json` and `config/production.json` in the zip file that I upload as code for the function. This zip file will be extracted into the directory `process.env.LAMBDA_TASK_ROOT` when the function runs. So I can load that file and get the config I need.

Some people don’t like storing the config in the code zip file, which is fine – you can just load a file from S3 or use whatever strategy you like.

Code for reading the file from the zip:

    const readConfiguration = () => {
      return new Promise((resolve, reject) => {
        let environment = /^(.*?)-.*/.exec(process.env.AWS_LAMBDA_FUNCTION_NAME)[1].toLowerCase();
        console.log(`environment is ${environment}`);

        fs.readFile(`${process.env.LAMBDA_TASK_ROOT}/config/${environment}.json`, 'utf8', function (err,data) {
          if (err) {
            reject(err);
          } else {
            var config = JSON.parse(data);
            console.log(`configuration is ${data}`);
            resolve(config);
          }
        });
      });
    };

Fast locally, slow on AWS – a systematic approach to solving

Its fast on my machine, and slow on AWS

We built a system consisting of a bunch of processes running on the jvm, a mix of rabbitmq and http for interprocess communication, graylog for log aggregation, and mysql and postgresql as the data stores. We hosted the development, test and production environments on AWS, and we configured the entire stack using Cloudformation with all kinds of neat continuous deployment etc. The curse of it was that, under load, one of the processes was so much slower on the AWS platform that it was on my 2012 Macbook Pro. Basically, on AWS the app ground to a stand-still, started failing EC2 instance health checks, and eventually got pulled down by a number of failed ELB health checks. The next instances that came up would invariably meet the same fate. And locally it ripped through the work.

We tried many things to fix the issue, in a pretty haphazard fashion, until we lost patience with it, and decided to get systematic in getting to the bottom of the issue. Whats presented here is a summary of that process, which I reckon is a neat approach to solving these kind of issues.

Isolate the environment

Because my Macbook Pro is so different to the Ubuntu environment we run on AWS, I decided to make a Docker image containing the entire stack required by the slow system. That means installing RabbitMQ, Graylog, Mysql, Java 8 and the Jar file of the app itself. Also restoring the latest backup of production. Once I had that image defined, I ran through a sizeable job and timed it with a stop watch. Relative to AWS, it was fast – it took 3:50 (3 minutes 50 seconds) to do the work. Just to give you an idea, the AWS setup was taking 25 to 30 minutes, and seldom worked without dead letter messages and a host of other failure cases.

So I ran up a c4.xlarge, which was closest in spec to my laptop, to see if it was a problem with the basic performance of AWS itself. I installed the docker image and fired up the container and ran the same test. It took 2:39 to run the same work, so there was not a problem with AWS itself. This was exciting because it was clear that whatever the problem was, it was in the set of differences between my docker image and my AWS config – or it was due to the use of docker itself.

Introduce the old environment, one step at a time

So all I had to do was start introducing parts of the AWS environment into my docker setup. My first guess was the RDS database. So I edited my config file to use the RDS Mysql instead of the one in the docker image and re-ran my test. It took 3:31, which was a good bit slower but not the smoking gun. Darn it! All that was left to me was to spend the next ten hours systematically going through the following:

  • Our AWS setup used Magnetic disks, my docker c4.xlarge was using SSD. Surely this was it. Nope – it ran in 3:40
  • Was it the jvm args? In AWS we ran with the G1 garbage collector, and with no jvm args in docker. Nope, made almost no difference – it run in 3:43
  • What about external Graylog instead of the one local to docker? Yes, no? Well, no – it ran in 3:45
  • There was a difference in the instance sizes. Docker was on c4.xlarge, the app on AWS was on a t2.medium. Surprisingly not much difference – it ran in 3:52
  • Ok, next. What about external RabbitMQ instead of the local one? Also no – it ran in 3:58
  • Was it due to the fact that in AWS the app was in a private subnet, and my docker image was in a public one? Nope – it ran in the same time.
  • Could it be due to the fact that the ELB health check against my AWS app was using a database connection for each call, and docker was not fronted by an ELB at all? Sticking in a static health check page served by “python -m SimpleHTTPServer” made no difference at all.

(Using docker images and AWS AMIs made the change-test-repeat cycle faster and relatively painless.)

At this stage my docker image was getting very close to the setup of my AWS app, and was still kicking its ass. And I was starting to tear my hair out. So I started to switch tack.

Move the old environment towards the new

What differences remained? I wondered it it was something to do with the packer-created AMI my app was running on. Or due maybe to the fact that the stack was created using Cloudformation and for the docker test I just launched a plain Ubuntu 14:04 AMI.

So I logged onto one of the AWS app machines, stubbed out its health check with my static python server, and killed the app process. Now the machine was mine to do with as I pleased. I stuck docker on it, and ran up the app in docker. Then I tore down my static health check page, and allowed the docker process to be the app. Amazingly, the app worked really fast. About 4 minutes, which was in the ballpark. At the stage I started to doubt myself, so I went back to run the test using just the AWS setup, and almost straight way it started grinding to a halt and failing messages and just getting killed by ELB health checks.

So it had something to do with the way the app was launched by my Cloudformation arrangement. Getting close, getting close! And then it hit me. As I was watching the stdout of the struggling AWS app crawling along, I realised that all this output was streaming to /var/log/cloud-init-output.log. And these were magnetic disks and it might be taking ages to flush to disk. So I changed the launch line in the UserData section of my LaunchConfiguration from

nohup java -jar app.jar

to

nohup java -jar app.jar > /dev/null

I was not concerned about losing log information because everything was being piped to Graylog anyway. Then I re-ran the test, and it came in at the same time as my docker image – around 4 minutes. God darn it, this was the issue. To much logging to slow disk, totally stalling the machine. What? Really, something as dumb as that? Oh dear.

Small systematic steps

So anyway, we’re out of the woods with this issue, and I’m mighty glad. The thing I hope I remember in future when faced with this kind of issue again is to isolate the environment using docker and creep towards the broken environment one step at a time, measuring the effect of each change until the offender reveals itself. No bug can survive small, systematic steps.

Ethereum for normal devs

Here is what I learned during a hackathon on Ethereum on Saturday. We started with theory and ended with an example. Personally I find it easier to go from the specific to the general, and found that things came together more once we got concrete, so thats what I’ll do here.

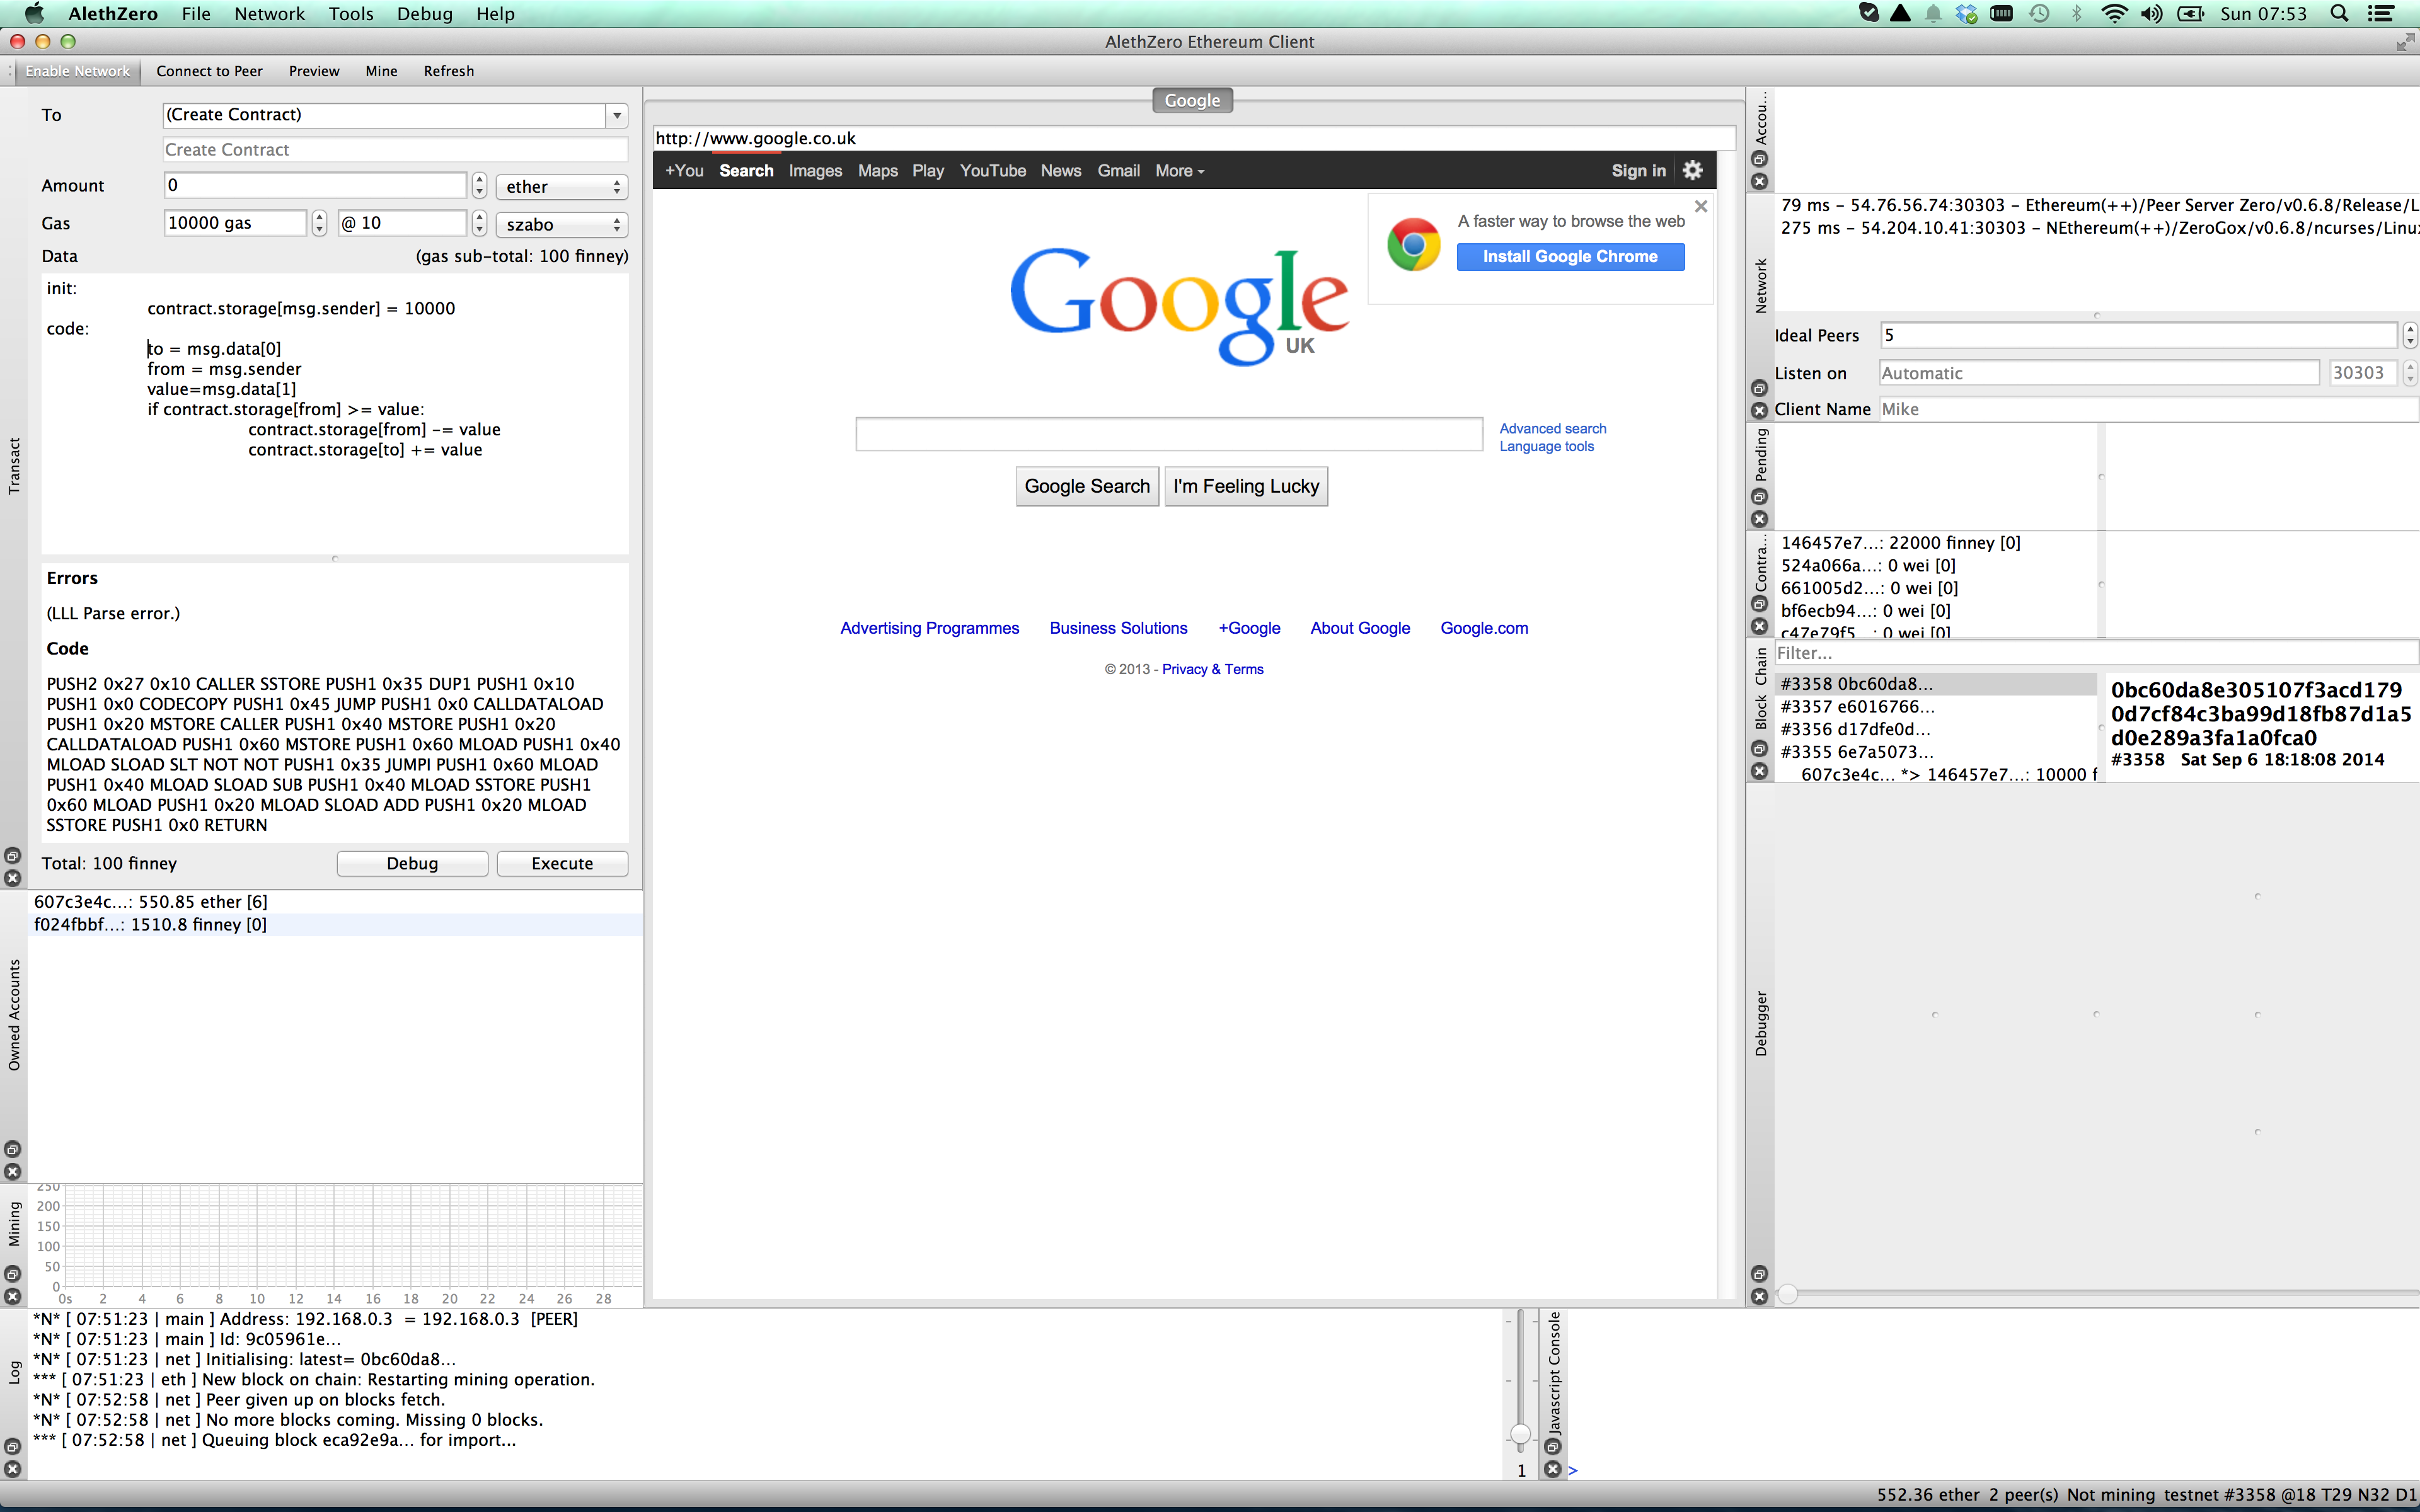
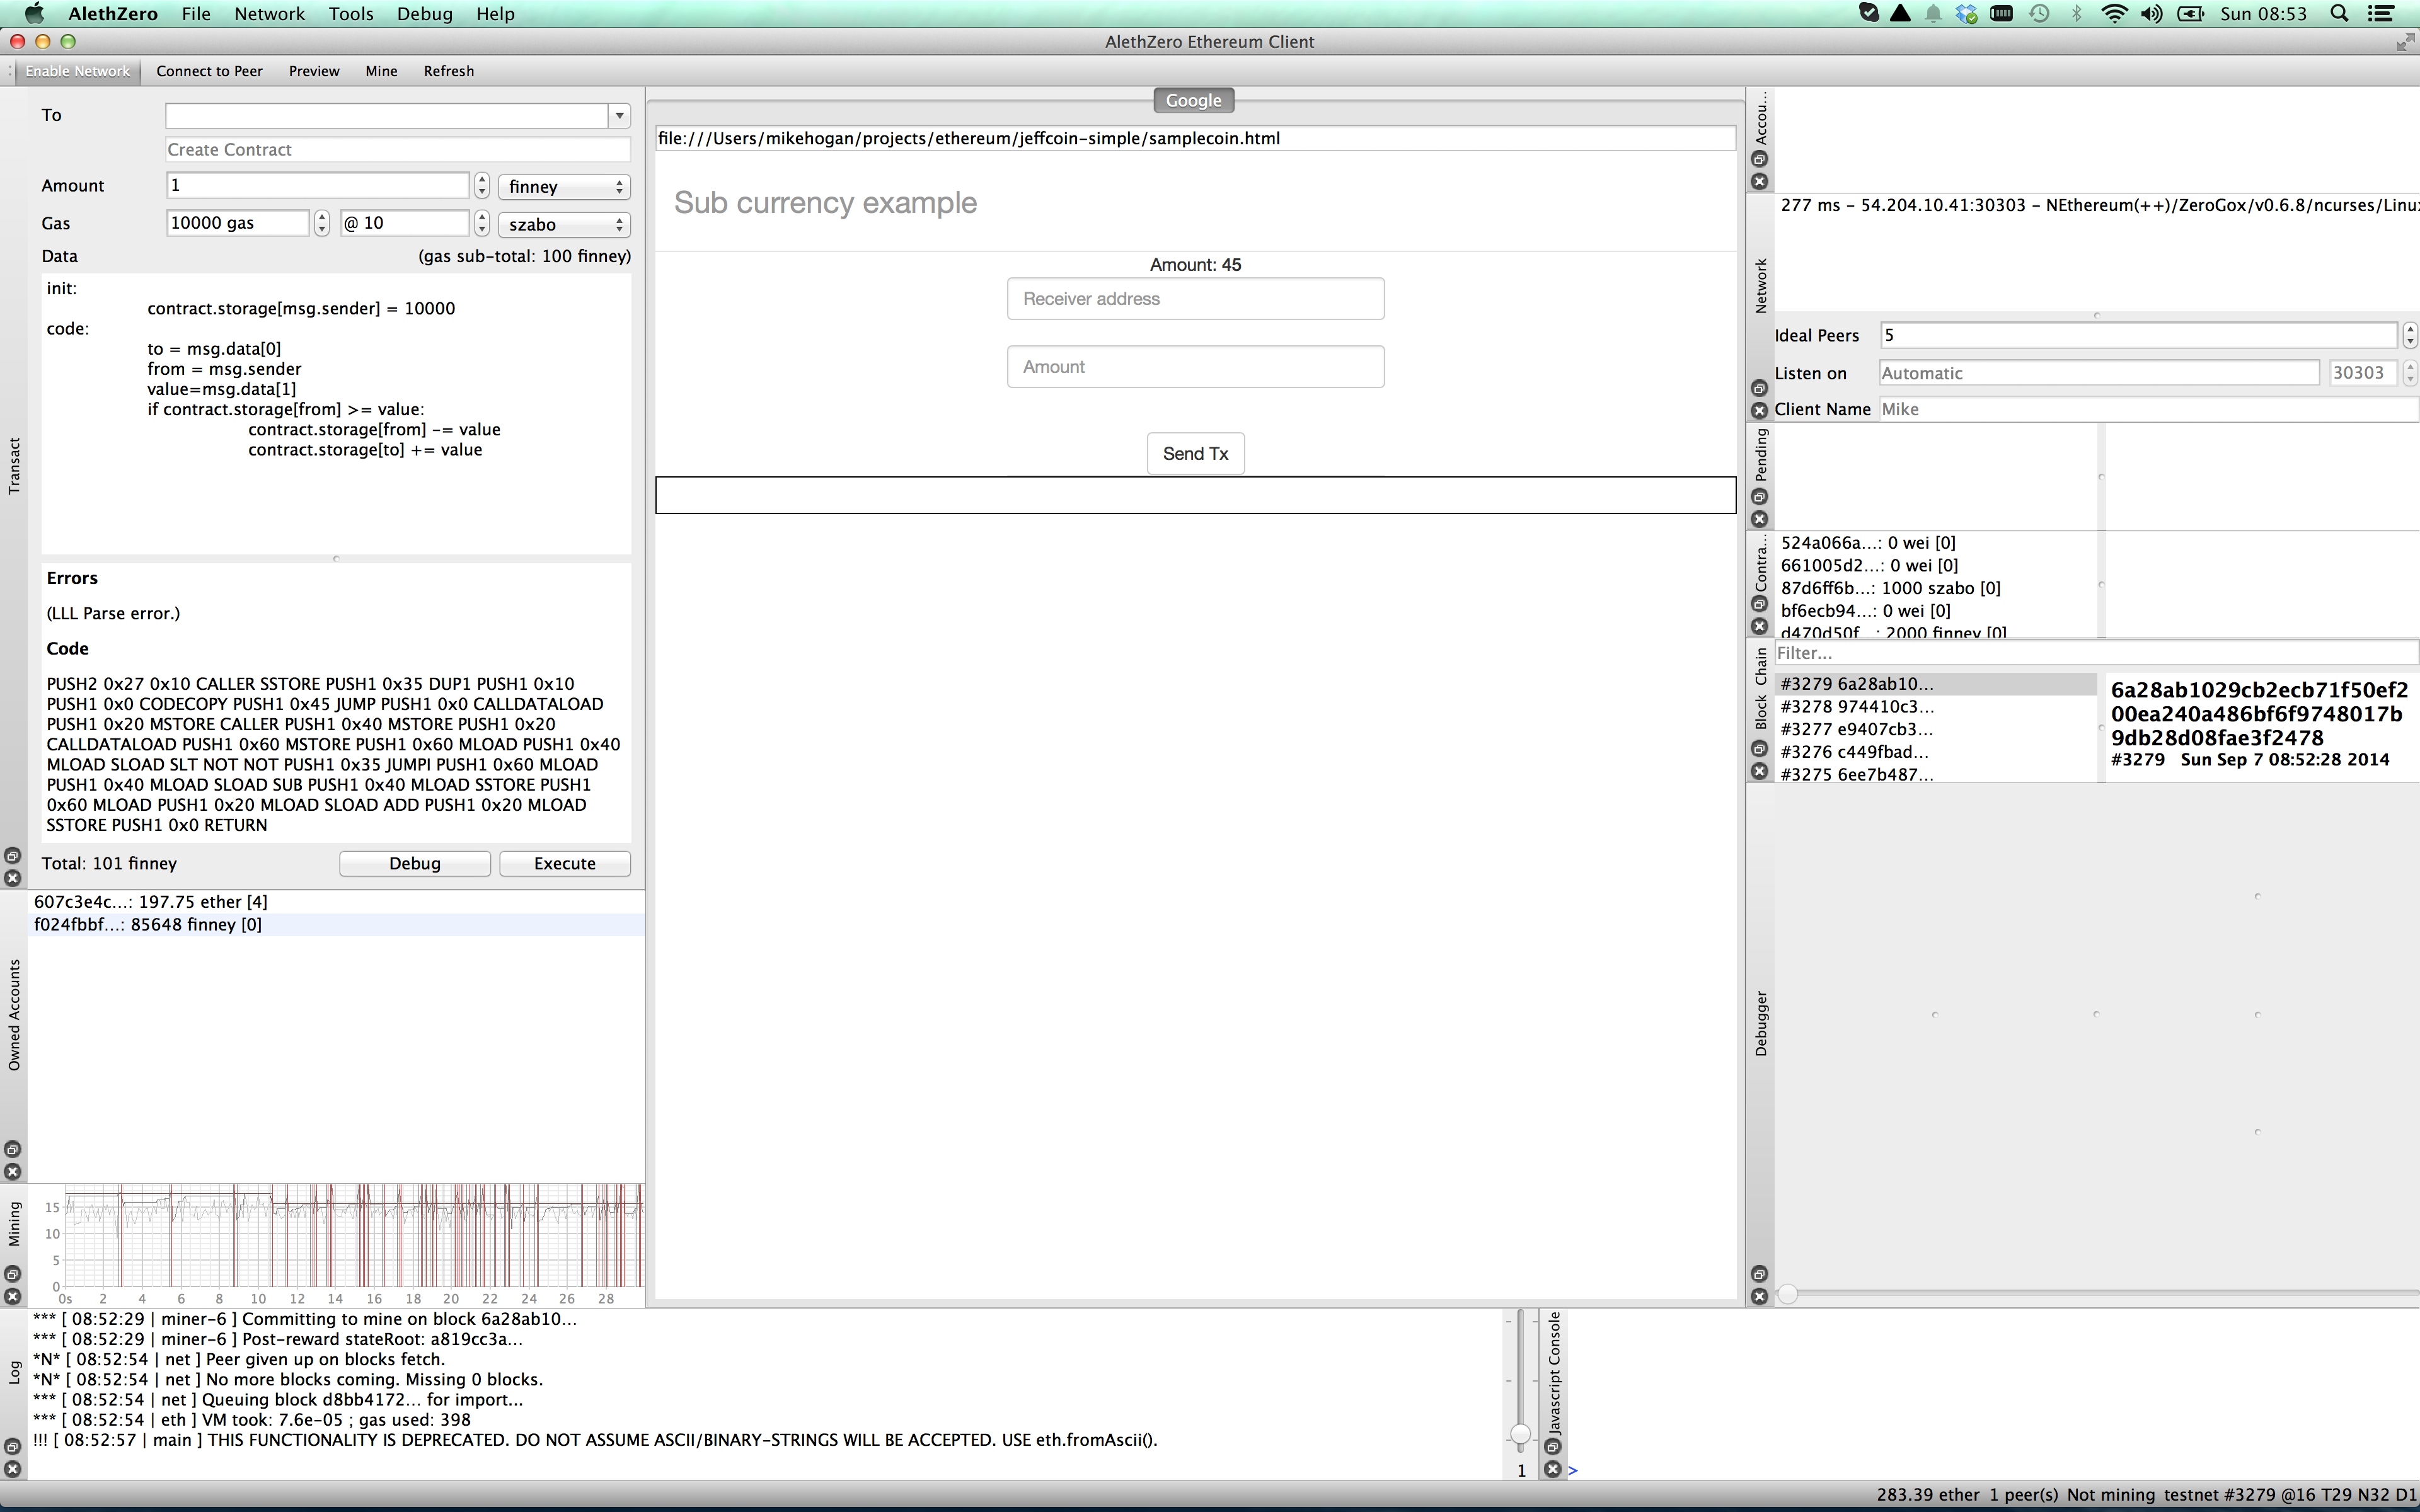
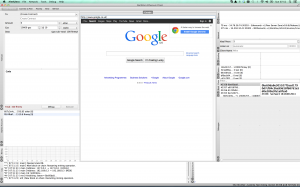
Starting with a very concrete thing, Ethereum has a browser that is a forked version of WebKit, with the Ethereum Javascript API embedded. It’s called AlethZero.

AlethZero.

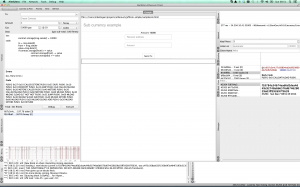
The panel in the middle is the browser, showing the Google home page, and all around it are panels showing information about the Ethereum network, and an area to define and execute contracts.

So lets say we want to make our own coin, MikeCoin. Making your own coin seems to be the Hello World of Ethereum.

Write up the contract as shown below.

init:
	contract.storage[msg.sender] = 10000
code:
	to = msg.data[0]
	from = msg.sender
	value=msg.data[1]
	if contract.storage[from] >= value:
		contract.storage[from] -= value
		contract.storage[to] += value

Code for Contract

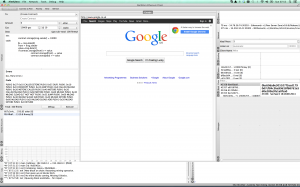
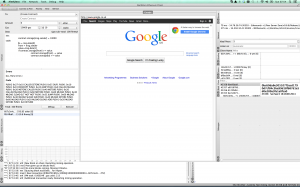
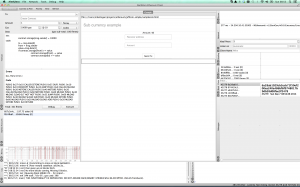
The code you write is in the middle left, starting with init:. Underneath this you see your code compiled into opcodes for the Ethereum virtual machine. If there is a problem with your code, you will see error messages in this panel.

What this contract does is define some storage, a slot in a distributed key-value store, with an initial value of 10000, and the key being the address of the person who sent the message. Who is the person? It will be me, because as soon as I press the Execute button, I will be sending this contract to the blockchain, so I am the sender of the message.

The init: block gets run once when the contract is getting setup on the blockchain. In effect we are defining a wallet with initial funds, all of which are owned by me.

The code: section of the contract is what you subsequently transact with. Essentially its stating that “this contract takes two parameters, the first is who we want to send coin to, the second is how much”. The if statement is saying “If the from wallet has enough in it, transfer the nominated value to the nominated wallet”.

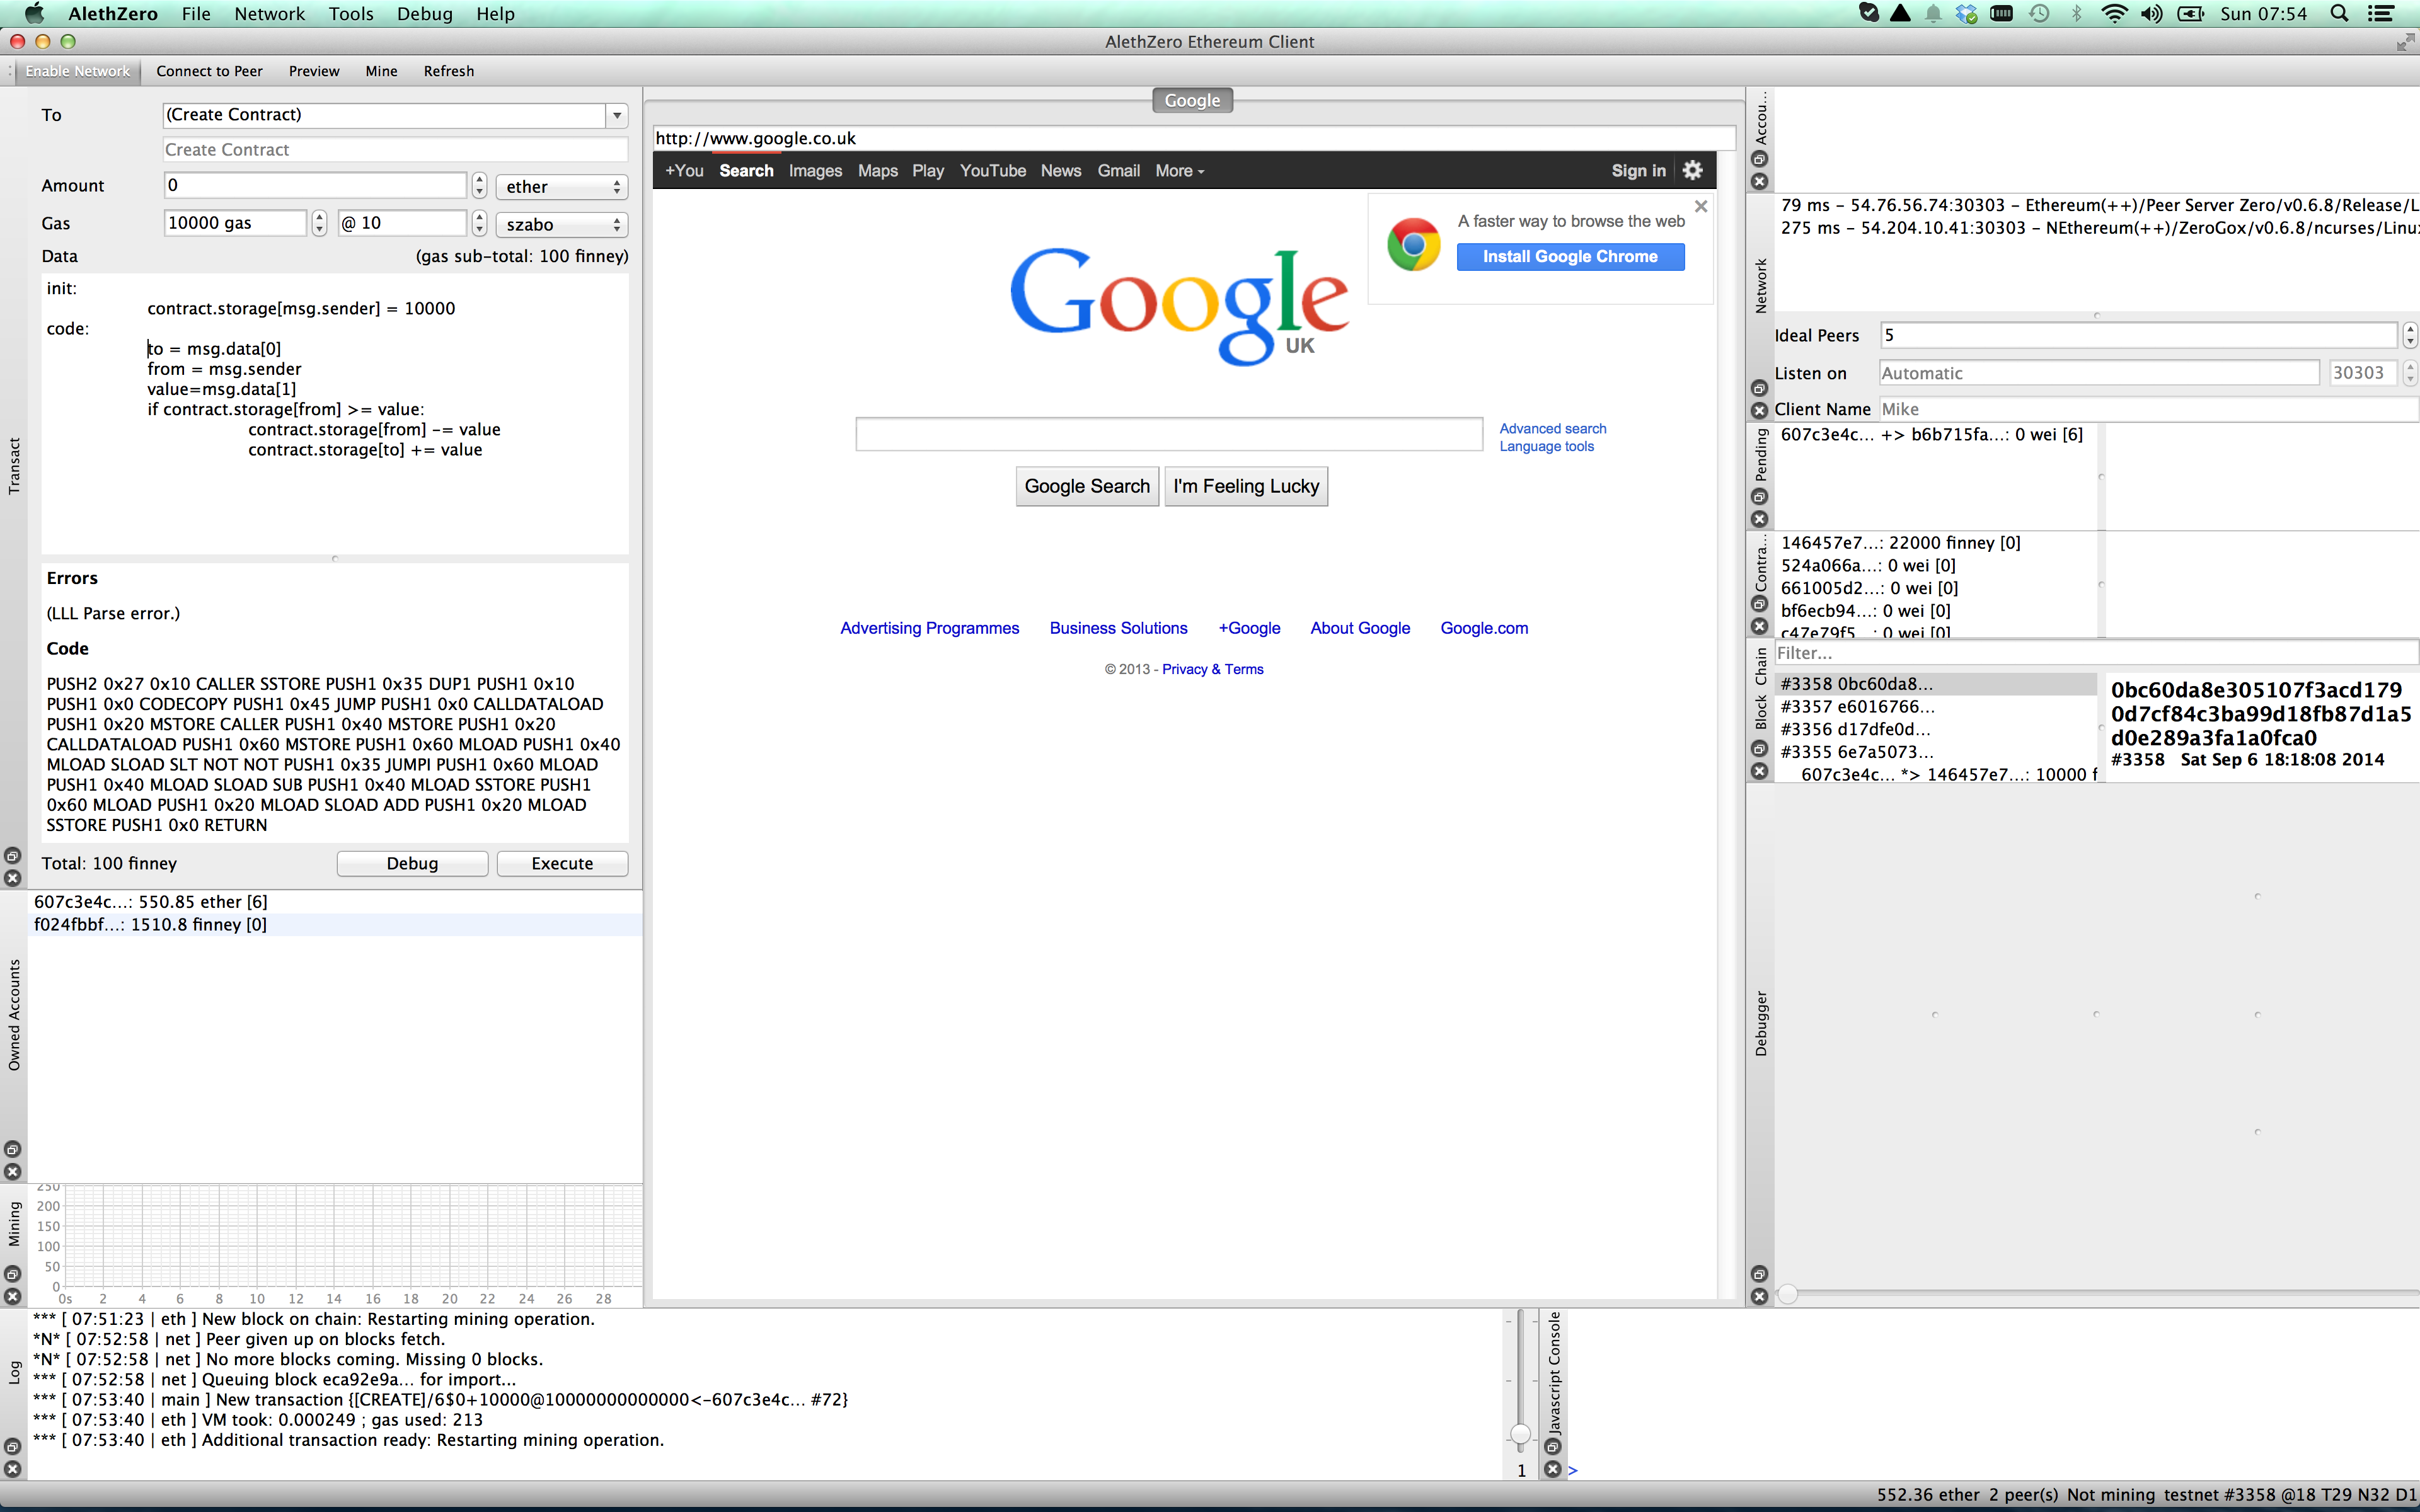
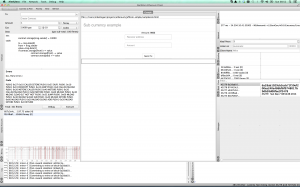
So we have coded up a very simple contract that stores funds and allows transfers. When we press Execute, this contract is sent to the blockchain. You will see it in the Pending tab, middle right.

Contract Pending

What this is saying is that my account, starting “607c3” is sending the contract code to the network, and when mining finishes, my contract will have the address starting with “3726”. When I enable mining (menu item, top left), I see the Pending message disappear, and my contract appear in the contracts tab. I can double click this contract to copy its address to the clipboard. So I can see its full address is 37261aa159eb8999164e487a3d29883adc055d9d .

So now lets write a web page to allow people send MikeCoin. I can use my existing website development skills to layout the UI, the many users of MikeCoin will interact with it using AlethZero (a forked browser, remember). So I can layout a simple form using boostrap:

<div class="container">
  <div class="header">
    <h3 class="text-muted">Sub currency example</h3>
  </div>

  <div class="jumbotron ">
    <div>Amount: <strong id="current-amount"></strong></div>

    <div id="transactions">
      <div class="form-group">
        <input id="addr" class="form-control" type="text" placeholder="Receiver address"/><br>
        <input id="amount" class="form-control" type="text" placeholder="Amount"/><br>
      </div>

      <button class="btn btn-default" onclick="createTransaction();">Send Tx</button>
    </div>
  </div>
</div>

And now I can crank out my javascript skills to show my balance in this wallet:

var contractAddress = "37261aa159eb8999164e487a3d29883adc055d9d"
eth.watch({altered: {at: eth.key, id:contractAddress}}).changed(function() {
        document.getElementById("balance").innerText = eth.toDecimal(eth.stateAt("0x" + contractAddress,eth.secretToAddress(eth.key)))
});

This is saying “watch for changes in the contract, and when they happen, get my state in that contract and display it”.

What about sending funds to somebody else? Here is the createTransaction() code:

function createTransaction() {
  var addr = ("0x" + document.querySelector("#addr").value).pad(32);
  var amount = document.querySelector("#amount").value.pad(32);

  var data = (addr + amount).unbin();
  eth.transact({
      from:eth.key,
      to:"0x" + contractAddress,
      data:data,
      gas:10000,
      gasPrice:10
  },function(receipt){
      alert(receipt);
  });
}

You can find docs on the transact function on the wiki, but basically this is saying “send a message from me to the contract, with the data of the message being two items: the destination address and an amount, in keeping with the params the contract expects.”

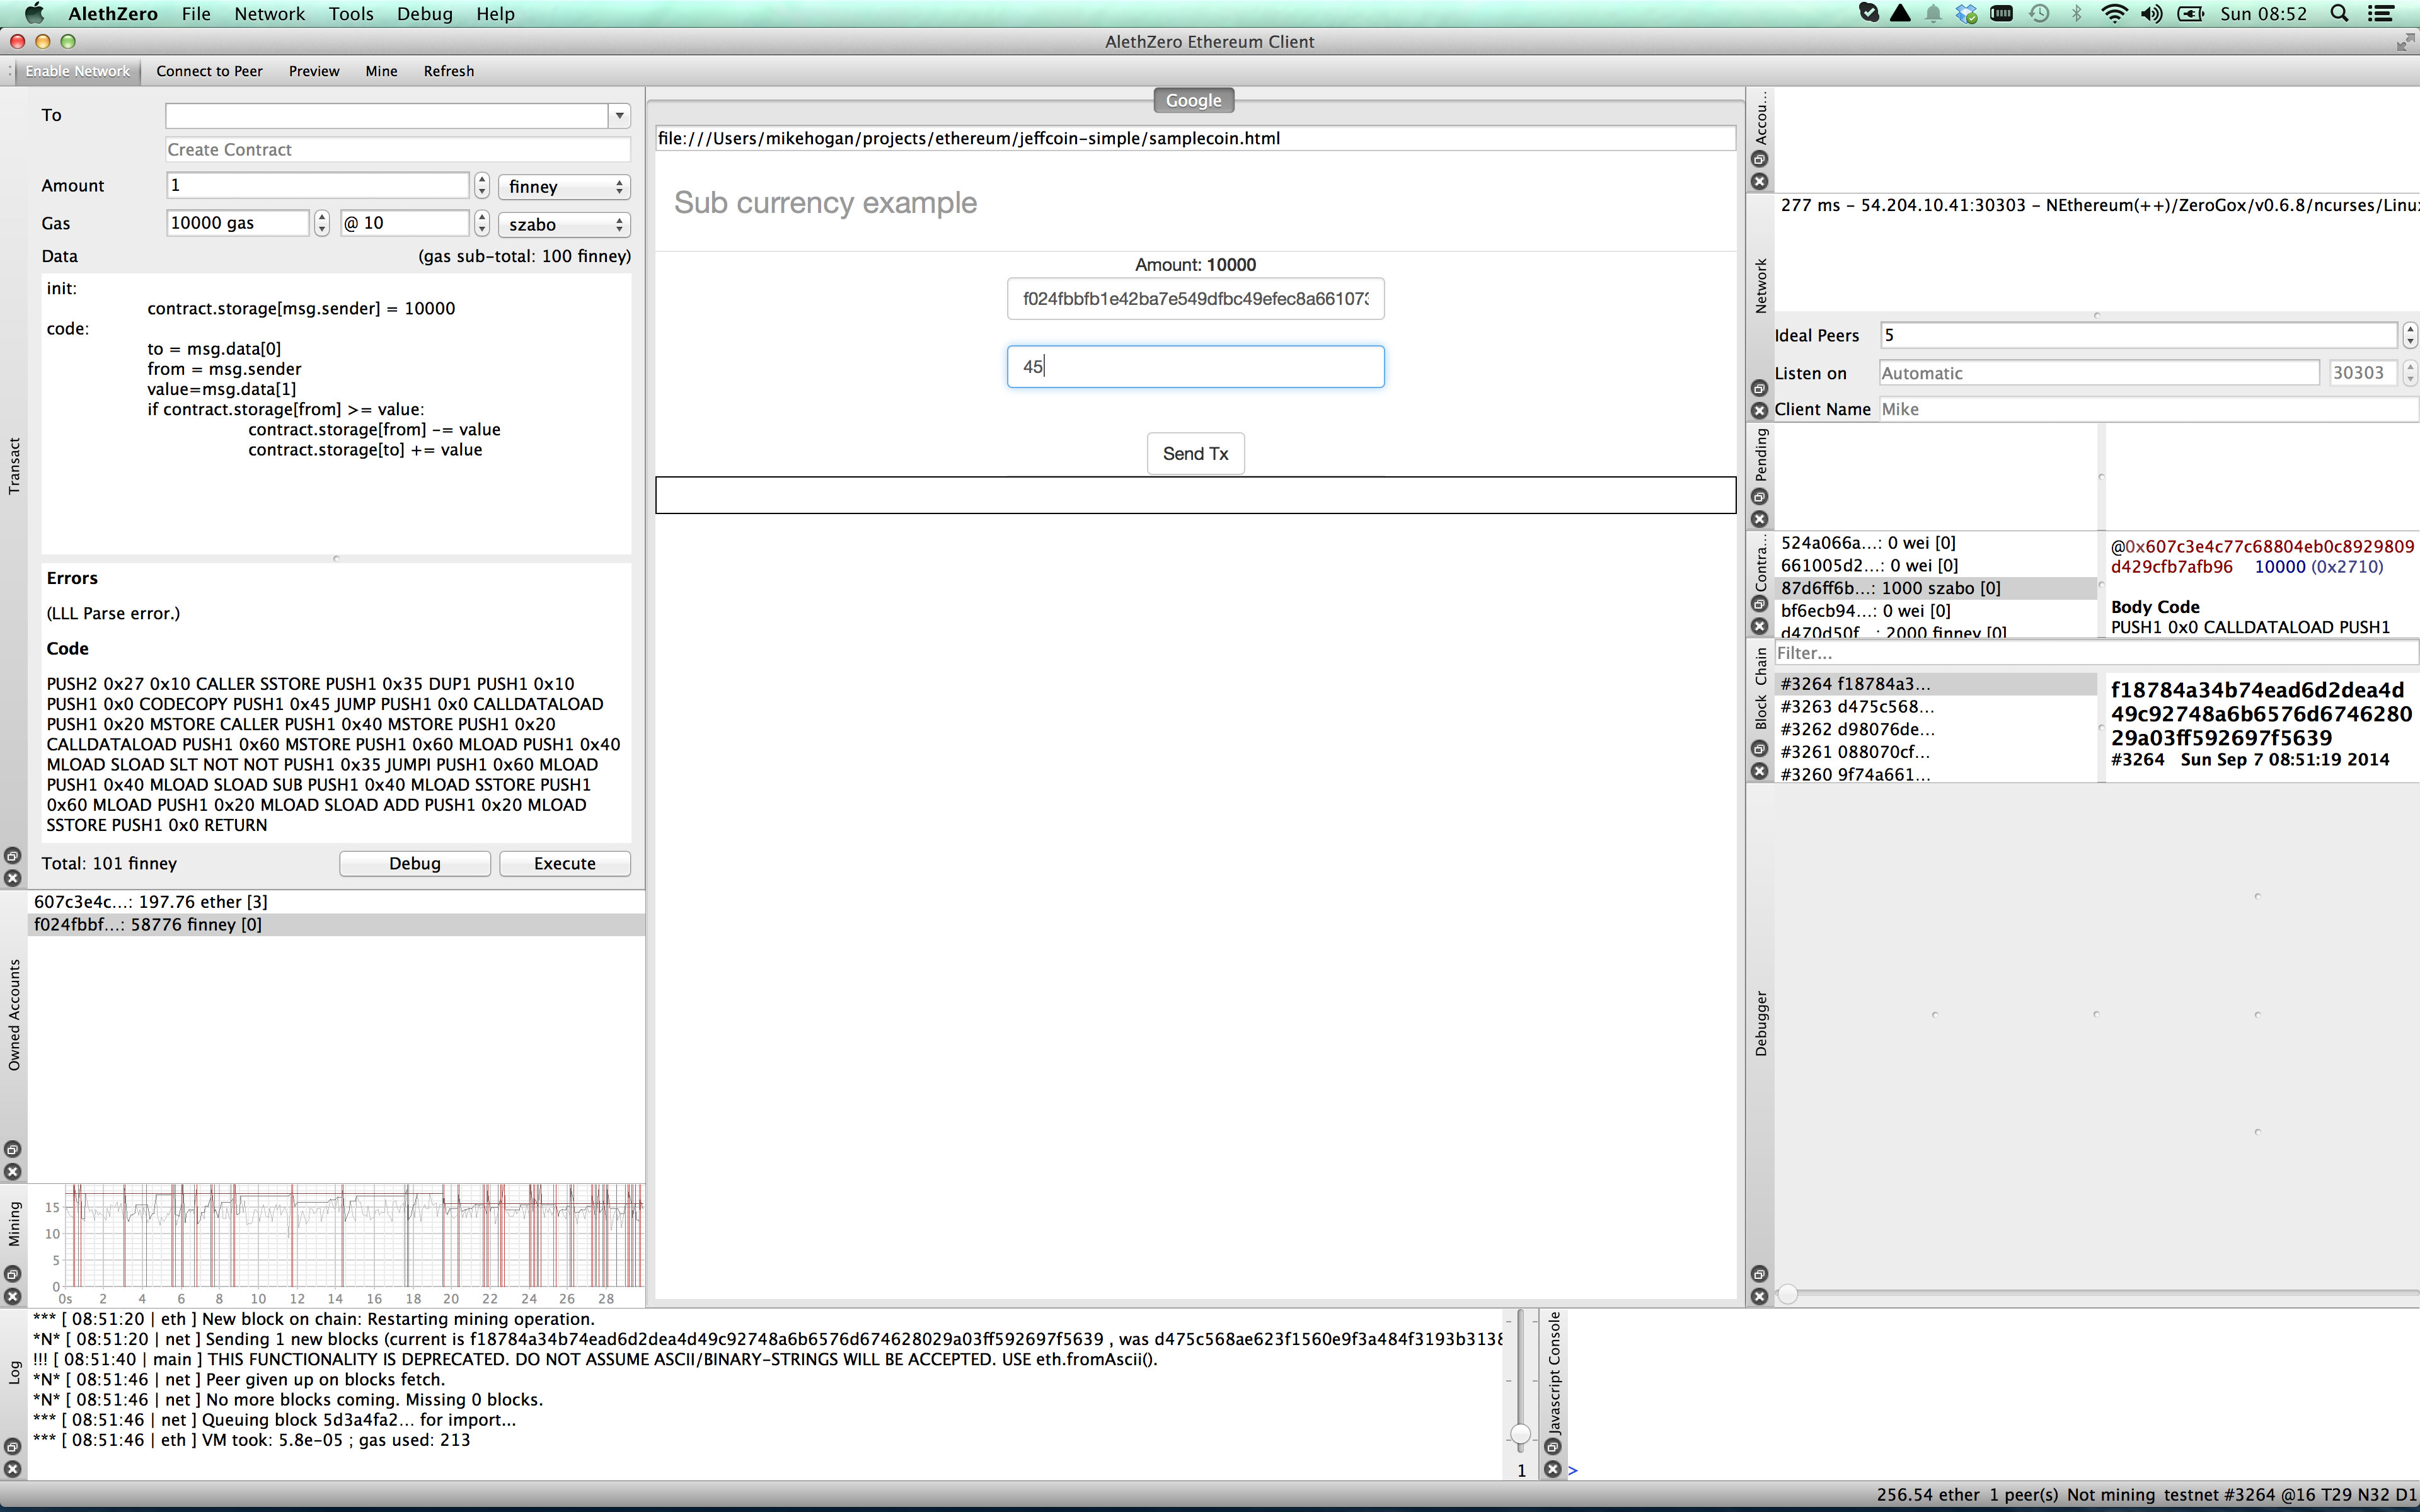
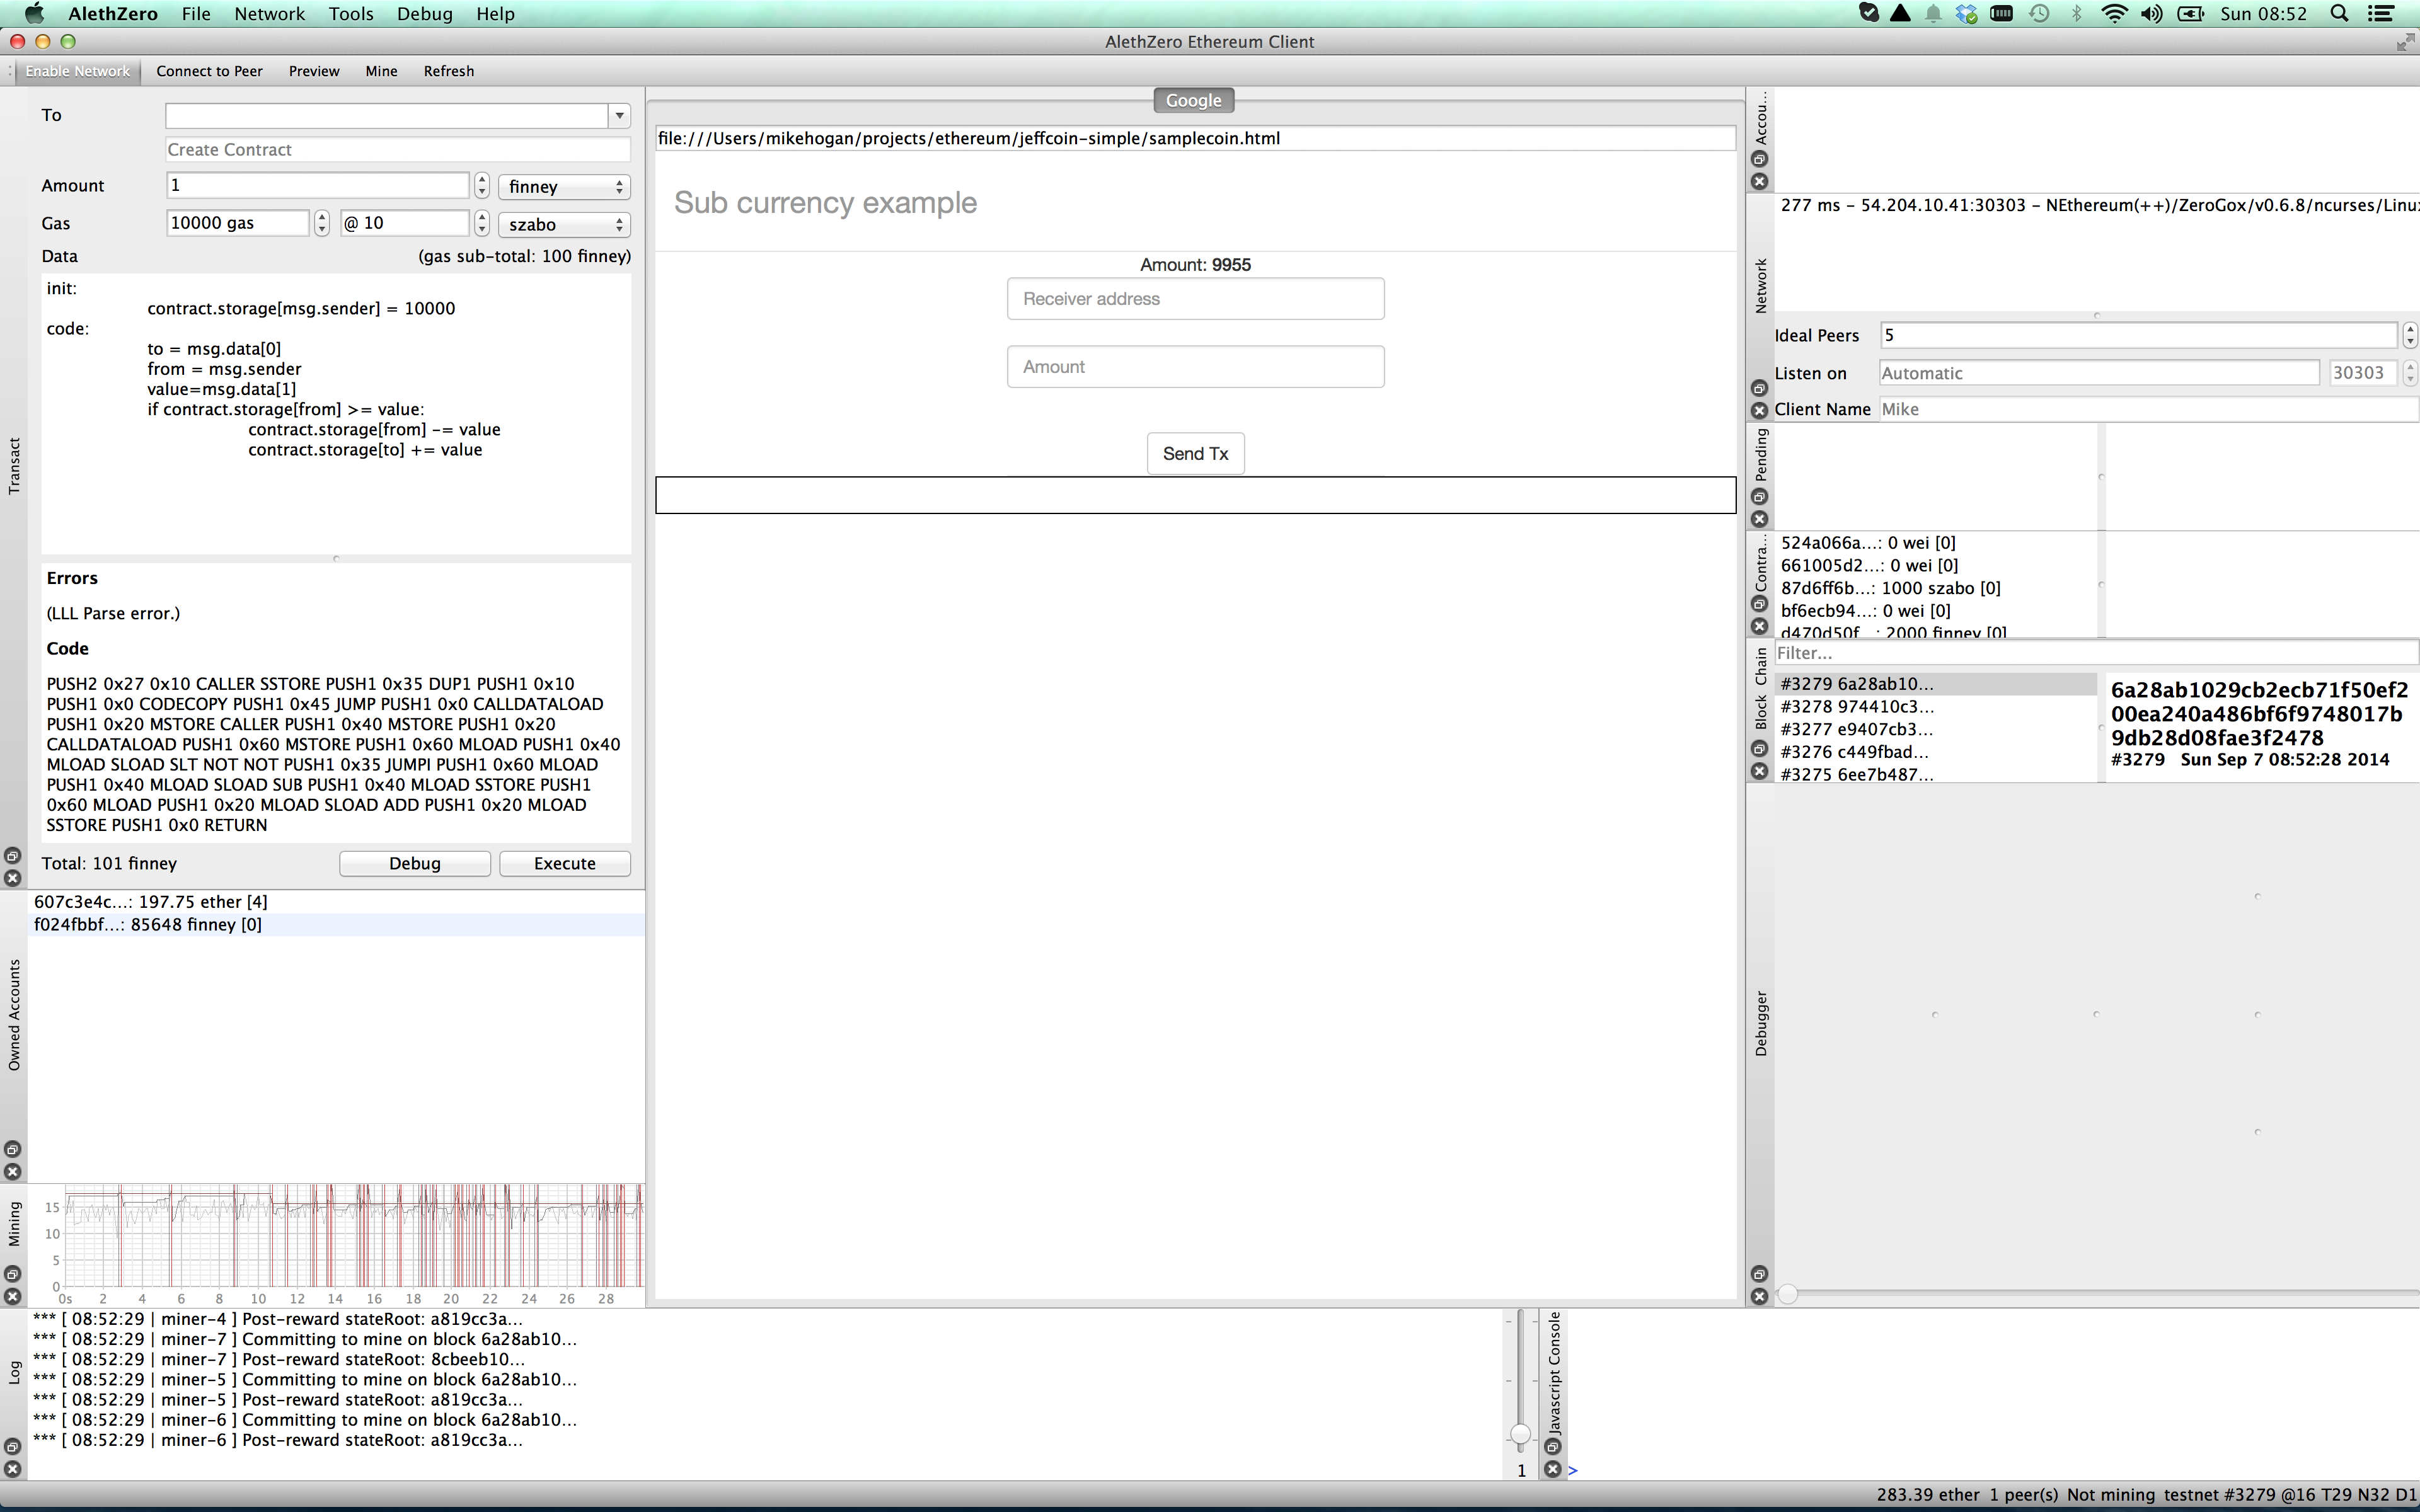
This is how the page looks in AlethZero.

Simple TX Page in AlethZero

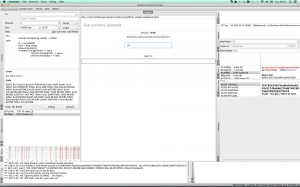
Lets say I want to send some coin to somebody else. You will notice in the screenshots that in the bottom left quarter there is an Owned Accounts panel, and I have in there a second account I created, beginning with f024. Rather than bother other people with MikeCoin, I will send coin from my main account beginning 607c to this second one.

So I put in the destination account and an amount, and press Send Tx.

About to send funds

I will see the transaction appear in the Pending panel, then, assuming mining is running, it will disappear. Unfortunately my watch code is not live-updating and I am not sure why, but if I refresh the page I can see the money has left my wallet.

money left wallet

How can I check that my second account has the money? Well I will cheat a bit and change the code of the app to show the balance of my second account:

    eth.watch({altered: {at: eth.key, id:contractAddress}}).changed(function() {
        document.getElementById("balance").innerText = eth.toDecimal(eth.stateAt("0x" + contractAddress,eth.secretToAddress(eth.keys[1])))
    });

And when I refresh the page, I see that I own 45 MikeCoin in my second account.

coin in second wallet

And that is about the most basic Ethereum contract and app, and its a very concrete, understandable thing. But what is it we are really dealing with here?

My contract exists as an addressable entity in a distributed blockchain that nobody owns or can shutdown, and it enforces rules about ownership of data that is also distributed. I have a browser that knows how to interact with these contracts and data. The Ethereum team are working towards putting the apps themselves in the blockchain, so they too will be distributed and decentralised – no url to a server that somebody owns.

I went to this hackathon expecting to learn about a “better bitcoin”, but pretty soon I started to think that this is in fact a re-envisioning of the internet, where centralised servers are replaced by a network of peers, urls are replaced by addresses on the blockchain, http is replaced by a low-latency torrent protocol (its called Swarm), and wesbites are replaced by distributed apps. No individual owns this kind of network, nobody controls it. That seems to me to be the vision.

My feeling towards the end of the day was that its less about learning the APIs of Ethereum, and more about getting with what can be built using this kind of tech. For me this requires unlearning some of what I know, and seeing what it is that I am assuming. If the internet can or will be rebuilt in a more decentralised, more ownerless way, what kinds of apps and business and economies will grow out of this?

The social media built on this kind of platform will not be Facebook or Twitter. In functional terms it might, but you will not be going to Facebook owned servers and they will not own your data. Also, there will be less need for a centralised search engine company, that implements the rules around what we get to see, and controls the information around what we search for.

Even if Ethereum does not end up re-defining the internet, the ideas contained in it show that its possible. My taken-for-granted world of http and urls and webservers is tenuous and I would be well served to not get too attached to them. Everything changes. So that was “bigger picture lesson one”.

But you know what the biggest bigger picture lesson for me was? The social element thats around this technology. I met one guy that no longer has a bank account and lives 100% on bitcoin. He paid for his coffee with @changetip. I met another that is 50% in bitcoin. Poeple are actually doing this, NOW.

The conversations that were happening around the table were like “Today, the people who get to write the contracts have the power. This way, we all get to write contracts”. It kinda felt to me like the Zeitgeist is shifting towards decentralisation, and Ethereum and tech like it is a lagging artefact bubbling up out of this mind shift. It was very stimulating and rewarding to immerse myself in this mind space. I’m going again on Oct 5th.

Write up by Chris Ellis on the day

How to find where a person is singing in an audio recording

I need your help. This is an audio waveform of somebody singing the first four lines of Happy Birthday. Click if you want to see if bigger.

The first line should begin about 1.5 seconds in, and should be finished before 4.5 seconds in. This is because the singer is singing in response to a karaoke style lyrics scroller. There should be about a 1.5 second gap between lines, so the second line of the song should start at about 6 seconds in, and each line should be no more than 3 seconds long. I say should here, but its somewhat inexact, due to peoples sense of timing, and machine performance characteristics etc. There could be a 0.5 second variation in any of these timings, based on testing.

Now, what I want to so, is identify in the waveform where singing starts for each of the four lines of the song. So I want 4 pairs of numbers. The first might be (1.3, 4.1), meaning the singing starts 1.3 seconds into the waveform, and ends 4.1 seconds into the waveform, making a 2.8 second singing clip. The second pair might be (6.1, 8.6) etc.

How can you help? I’ve been hand-rolling all kinds of amateur algorithms to pull this off, with a modicum of success (that I feel chuffed about 🙂 ), but I need something more robust than what I have been able to do. So what I am looking for is pointers either to papers or code for algorithms that are suited to this problem, or even the name of potentially suitable algorithms and I’ll do the research myself. Or else pointers to open-source tools that can do this, so I can dig around and see what they do.

My promise to you is, if anything interesting learning comes from this process, I will report back on what I learned.

Keep well!